GRAINBENCH ORIGINALS
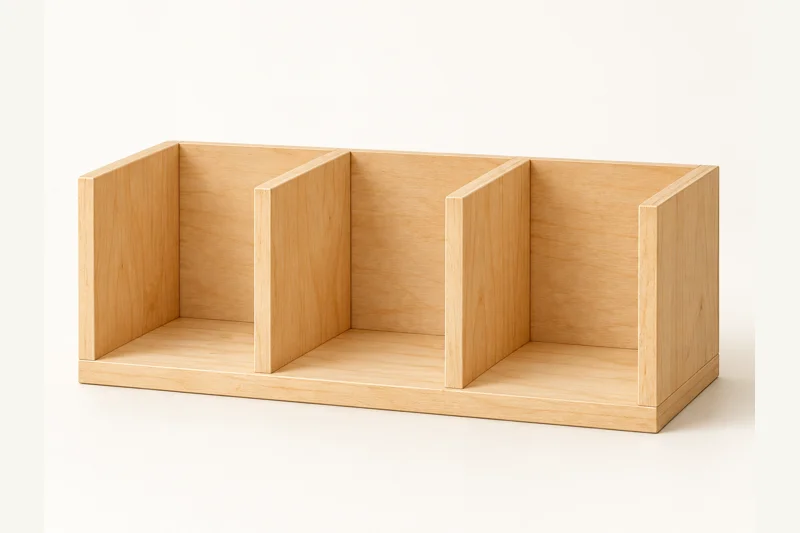
The Tidy Desk Organiser
Three equal open compartments for notebooks, folders and the day’s little piles.
24 in W × 7-1/2 in D × 8-3/4 in H
Printable drawings, a labelled cut list and nine assembly stages. No account or email required.
Common materials. Clear details.
One 1x8 board and a plywood back.
Use straight, dry stock and check its actual thickness. The PDF lists quantities, hardware sizes, part labels and the cutting layout.
Shopping list
- 1x8 x 8 ft: 1 board; actual 3/4 x 7-1/4 in.
- 1/4 in plywood: One piece at least 24 x 8-3/4 in; use an offcut or project panel. Verify usable size and actual thickness.
- Pocket screws: 12 x #8 x 1-1/4 in coarse-thread pocket screws for softwood, plus spares.
- Back fasteners: About 24 x 3/4 in brads, plus spares.
- Other supplies: Interior wood glue, sandpaper, finish and optional thin felt pads.
Before the first cut
Tape, square, pencil, supported crosscut saw, drill/driver, clamps, sander, and suitable eye/hearing/dust protection. Pocket-hole jig and bits, brad nailer, and a saw/guide for the plywood back.
Digitally checked; not physically built or load-tested. Follow the PDF’s fixing, stability and inspection instructions.
Your parts at a glance
Dimensions in inches. Stock names are nominal; finished dimensions are actual.
| ID | Part | Qty | Stock | Length | Width | Thickness |
|---|---|---|---|---|---|---|
| B | Base | 1 | 1x8 | 24 | 7-1/4 | 3/4 |
| S | Outer sides | 2 | 1x8 | 8 | 7-1/4 | 3/4 |
| D | Interior dividers | 2 | 1x8 | 8 | 7-1/4 | 3/4 |
| R | Overlay back | 1 | 1/4 ply | 24 | 8-3/4 | 1/4 nom. |
A clear way through
Keep the PDF beside you for the dimensioned drawings and drilling layouts.
01 Cut base (B), sides (S) and dividers (D)
Cut the five solid-wood parts square. All four uprights are the same size; mark two as S and two as D. Keep matching front edges and lower ends identified. Cut R after measuring the assembled case.
02 Lay out sides (S) and dividers (D) on base (B)
Measure from B's left end. Mark upright left faces at 0, 7-3/4, 15-1/2 and 23-1/4 in. Mark 3/4 in thickness to the right of each line. Both outside S faces are flush with the base ends; all three spaces between uprights are 7 in.
03 Dry-fit S and D on B
Check all upright fronts and rears align with B. Use a square at each joint and confirm 7 in clear spacers fit in every opening. Sand faces while accessible, leaving glue faces bare and edges square.
04 Drill S and D at their lower ends
Use #8 x 1-1/4 in coarse-thread pocket screws for the specified softwood, with a head approved for the jig. Set jig and stop collar for the actual 3/4 in stock. Test on matching offcuts, clamp square and drive at low clutch torque; check for splitting, stripping and projecting tips. Drill three pockets at the BOTTOM end of each upright, located 1, 3-5/8 and 6-1/4 in from the front. Put S pockets on the inside faces; put both D pocket sets on their right faces. Twelve screws total; B has no pockets.
05 Fix outer sides (S) to base (B)
Glue each S lower end lightly, clamp perpendicular to B with its outside face flush at the corresponding base end, then fasten three pocket screws downward into B. Keep fronts flush and avoid overtightening.
06 Fit dividers (D) to base (B)
Use the marked lines and 7 in spacers to locate both D pieces. Glue lower ends, clamp square and drive three screws per divider into B. Recheck all openings, upright alignment and matching overall diagonals across the rear before the glue cures.
07 Measure and fit back (R)
Cut R to the assembled 24 in width and 8-3/4 in height. Glue the rear B edge and all four upright rear edges lightly. Align R flush, then nail only along B and the FOUR upright centre lines, about 4 in apart. Do not nail across the unsupported top gaps. Keep brads centred on solid edges and hands clear of the nail path.
08 Finish base (B), sides (S), dividers (D) and back (R)
Ease exposed edges lightly by hand, leaving joining faces square. Sand with 120 then 180 grit as appropriate and remove dust. Test the finish on an offcut. Follow its preparation, ventilation, application and full cure directions. Coat the accessible faces and edges; allow full cure before placing papers or books inside. Optional felt pads should sit evenly beneath the base.
09 Inspect the completed organiser
Set it on a flat desk and check the base sits without rocking. Inspect for sharp edges, exposed brads or screws, splits and loose uprights. Correct defects before use. Keep its back near a stable desk edge or wall and avoid unbalanced, heavy stacks that could tip it.
A little help along the way
You may sell your finished makes. Please keep the plan files and images with GrainBench. Plan usage terms → · Questions or corrections?
Another simple thing to make
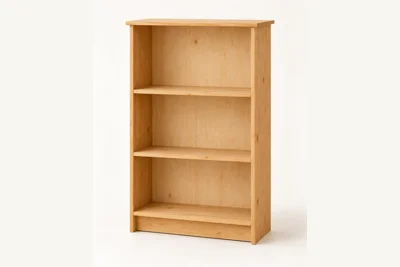
The Everyday Bookshelf
GrainBench Originals
A useful bookcase with three open shelves, a recessed base and a simple plywood back.
30 in W × 11-1/2 in D × 48 in H
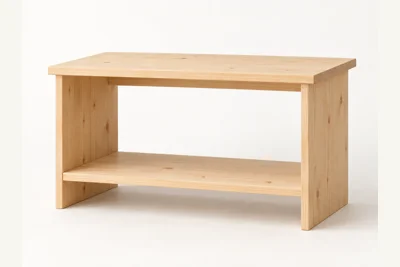
The Everyday Shoe Rack
GrainBench Originals
Two open storage levels and a gently overhanging top for everyday shoes.
30 in W × 11-1/4 in D × 18 in H