GRAINBENCH ORIGINALS
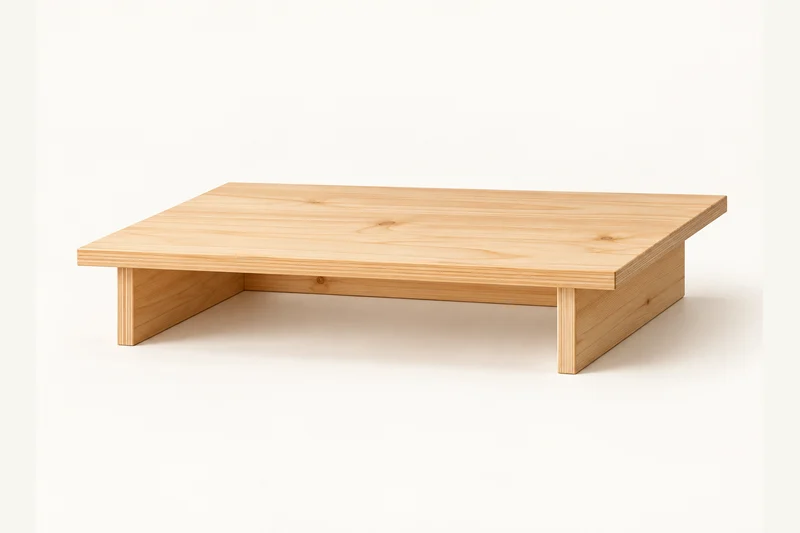
The Clear Desk Laptop Riser
Lift a laptop slightly and keep a keyboard or notebook beneath. Recessed feet and a plywood top make a clean desktop platform.
24 in W × 11-1/4 in D × approx. 4-1/4 in H
Printable drawings, a labelled cut list and nine assembly stages. No account or email required.
Common materials. Clear details.
One plywood top, two 1x4 feet and a 1x2 rear rail.
Use straight, dry stock and check its actual thickness. The PDF lists quantities, hardware sizes, part labels and the cutting layout.
Shopping list
- 3/4 in plywood: One flat, sound-core panel at least 24 x 11-1/4 in; measure actual thickness.
- 1x4 x 4 ft: 1 board for two feet.
- 1x2 x 4 ft: 1 board for R.
- Hardware: 8 pocket screws for the actual joint; 1-1/4 in for measured 3/4 in material.
- Supplies: Glue, sandpaper, finish and thin non-slip pads.
Before the first cut
Tape, square, pencil, supported saw, drill/driver, clamps and sanding tools. Use eye, hearing and dust protection. Clamp small parts and keep hands clear of cutting and screw paths. Pocket-hole jig and a guided saw for plywood.
Digitally checked; not physically built or load-tested. Follow the PDF’s fixing, stability and inspection instructions.
Your parts at a glance
Dimensions in inches. Stock names are nominal; finished dimensions are actual.
| ID | Part | Qty | Stock | Length | Width | Thickness |
|---|---|---|---|---|---|---|
| T | Top panel | 1 | 3/4 ply | 24 | 11-1/4 | 3/4 nom. |
| S | Vertical feet | 2 | 1x4 | 11-1/4 | 3-1/2 | 3/4 |
| R | Rear rail | 1 | 1x2 | 18-1/2 | 1-1/2 | 3/4 |
A clear way through
Keep the PDF beside you for the dimensioned drawings and drilling layouts.
01 Cut top (T), feet (S) and rail (R)
Keep T flat and square. Cut matching S pieces to 11-1/4 in; their 3-1/2 in board width becomes the standing height. Cut R to 18-1/2 in.
02 Mark feet (S) beneath top (T)
From T left end mark S left faces at 2 and 21-1/4 in, then their 3/4 in thickness. Align their front and rear ends with T. Confirm the 18-1/2 in clear gap.
03 Dry-fit S and rear rail (R)
Stand S on their long edges. R spans between them at the rear, upper edge flush with S tops. Check square corners, parallel feet and enough space for your keyboard.
04 Drill feet (S) and rail (R)
For measured 3/4 in stock use 1-1/4 in pocket screws with jig-approved heads, coarse thread for softwood or the maker's choice for your material. Set jig and collar to actual thickness, test matching scrap and use low clutch torque. Put three pockets along each S TOP long edge, 1, 5-5/8 and 10-1/4 in from front. Put one centred pocket at each R end. Test receiving plywood before drilling the real parts.
05 Join rear rail (R) to feet (S)
Clamp R between S with rear faces and tops flush. Put R pockets on its front face for driver access. Drive one screw per end and recheck the base width.
06 Attach the S/R base to top (T)
Place T upside down and align S to the marks. Glue S upper edges lightly, clamp and drive six screws into T. Thinner plywood requires the jig maker's revised setup; tips must not emerge.
07 Finish T and the S/R base
Ease exposed edges while leaving joining faces square. Sand 120 then 180 grit as appropriate, remove dust and test finish on an offcut. Follow finish ventilation and full cure directions. Seal plywood edges. Once fully cured, fit non-slip pads evenly under S without making the platform rock.
08 Check equipment fit and ventilation
Support the complete laptop footprint on T, keep all ventilation openings clear and route cables without pulling the riser. Do not balance equipment near an edge or stack heavy devices.
09 Inspect T, S and R before use
Check for rocking, splits, loose joints, stripped plywood and exposed screw tips. Correct faults before loading. This is a small desk riser, not a person-supporting platform.
A little help along the way
You may sell your finished makes. Please keep the plan files and images with GrainBench. Plan usage terms → · Questions or corrections?
Another simple thing to make
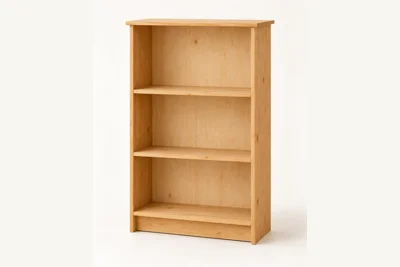
The Everyday Bookshelf
GrainBench Originals
A useful bookcase with three open shelves, a recessed base and a simple plywood back.
30 in W × 11-1/2 in D × 48 in H
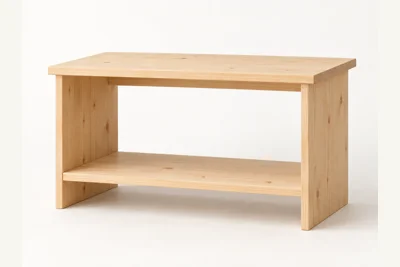
The Everyday Shoe Rack
GrainBench Originals
Two open storage levels and a gently overhanging top for everyday shoes.
30 in W × 11-1/4 in D × 18 in H