GRAINBENCH ORIGINALS
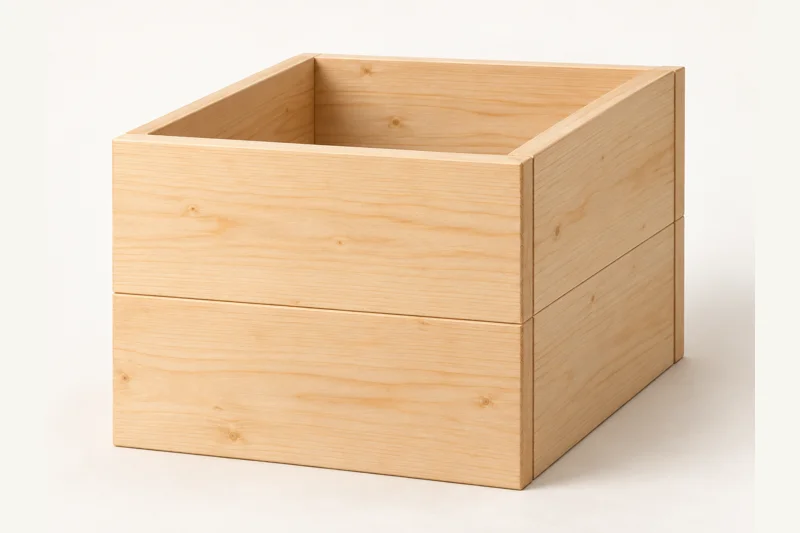
The Simple Square Planter Cover
An open-bottom wooden sleeve that dresses up a separate plant pot and saucer.
12-1/2 in W × 12-1/2 in D × 11 in H
Printable drawings, a labelled cut list and nine assembly stages. No account or email required.
Common materials. Clear details.
One 1x6 board; check usable length before buying.
Use straight, dry stock and check its actual thickness. The PDF lists quantities, hardware sizes, part labels and the cutting layout.
Shopping list
- 1x6 x 8 ft: 1 full-length board; actual 3/4 x 5-1/2 in. The layout is close: verify usable length, end condition and kerf before cutting.
- Pocket screws: 16 x #8 x 1-1/4 in coarse-thread pocket screws for softwood, plus spares.
- Separate pot: An indoor nursery pot and watertight saucer/liner fitting within the 11 x 11 in opening; allow clearance. They rest on the floor, not on this sleeve.
- Other supplies: Interior wood glue, sandpaper and a moisture-resistant interior finish; use as directed by its maker.
Before the first cut
Tape, square, pencil, supported crosscut saw, drill/driver, clamps, sander, and suitable eye/hearing/dust protection. Pocket-hole jig and bits; clamps and protected cauls for flat panel glue-ups. A plane or shop edge-preparation service may be needed.
Digitally checked; not physically built or load-tested. Follow the PDF’s fixing, stability and inspection instructions.
Your parts at a glance
Dimensions in inches. Stock names are nominal; finished dimensions are actual.
| ID | Part | Qty | Stock | Length | Width | Thickness |
|---|---|---|---|---|---|---|
| A | Front / back planks | 4 | 1x6 | 12-1/2 | 5-1/2 | 3/4 |
| B | Side planks | 4 | 1x6 | 11 | 5-1/2 | 3/4 |
A clear way through
Keep the PDF beside you for the dimensioned drawings and drilling layouts.
01 Plan cuts for front/back planks (A) and sides (B)
The eight lengths total 94 in. Eight 1/8 in kerfs use another 1 in, leaving only 1 in for squaring and damaged ends. Measure the actual board and saw kerf first. If it does not provide that usable length, buy extra stock rather than shortening the plan parts.
02 Cut and label all A and B planks
Cut four A at 12-1/2 in and four B at 11 in, retaining the full 5-1/2 in width. Match grain for each two-board face. Mark outside, inside and upper edges; do not use badly cupped or split stock.
03 Glue A and B into four wall panels
Edge-glue two A planks into each 12-1/2 x 11 in front/back panel. Edge-glue two B planks into each 11 x 11 in side panel. Edges must mate without forced gaps. Clamp on a flat protected surface, keep faces flush and follow full glue cure directions. Significant width loss from edge preparation requires revising panel heights consistently.
04 Drill side panels (B) for pocket joints
Use #8 x 1-1/4 in coarse-thread pocket screws for the specified softwood, with a head approved for the jig. Set jig and stop collar for the actual 3/4 in stock. Test on matching offcuts, clamp square and drive at low clutch torque; check for splitting, stripping and projecting tips. Put pockets on the INSIDE of each B panel, four at each vertical end. Centres from the panel bottom: 1-1/4, 4-1/4, 6-3/4 and 9-3/4 in. These avoid the central glue seam. Eight screws per side panel; A receives the screw tips.
05 Join both side panels (B) to the first A panel
Stand the panels in their final upright orientation. B fits BETWEEN the front/back A panels; its ends meet their inside faces. Glue the B front ends lightly, clamp square and flush at the outside edges, then fasten four screws per side into the first A panel.
06 Close the square with the second A panel
Glue the remaining B ends, fit the second A panel, clamp square and fasten the other eight screws. Align upper and lower edges. Check 12-1/2 in outside dimensions, 11 in inside opening and matching diagonals. There is no bottom or upper rim to add.
07 Ease edges and finish A/B walls
Ease exposed edges lightly by hand, leaving joining faces square. Sand with 120 then 180 grit as appropriate and remove dust. Test the finish on an offcut. Follow its preparation, ventilation, application and full cure directions. Coat inside, outside and exposed edges with the selected interior finish, allowing its full cure. A finish does not make the sleeve a watertight planter or protect the floor from a leaking saucer.
08 Fit the separate pot and liner
Set the cured sleeve on a level indoor surface. Place the plant pot in its own watertight saucer or liner within the opening, with clearance from the wooden walls. The pot weight must rest on the floor/support surface. Do not fill the wooden sleeve with soil or pour water into it.
09 Inspect all A/B joints and the placement
Check the sleeve is square, stable and free of sharp edges, open seams, split boards and projecting screws. Correct defects before use. Remove the pot before lifting the sleeve; it is a decorative cover, not a pot carrier.
A little help along the way
You may sell your finished makes. Please keep the plan files and images with GrainBench. Plan usage terms → · Questions or corrections?
Another simple thing to make
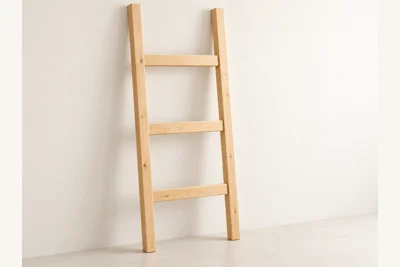
The Soft Landing Blanket Ladder
GrainBench Originals
A slim decorative rack with three flat rungs for folded throws.
29 in W · 60 in stiles · approximately 59 in installed H
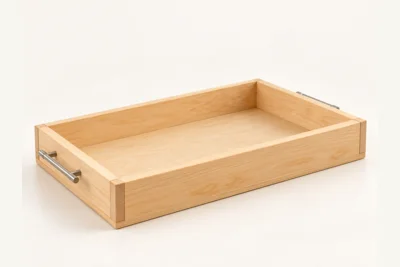
The Everyday Serving Tray
GrainBench Originals
A simple tray with a plywood base, low sides and two cabinet-pull handles.
20 in W × 14 in D × approximately 3 in H