GRAINBENCH ORIGINALS
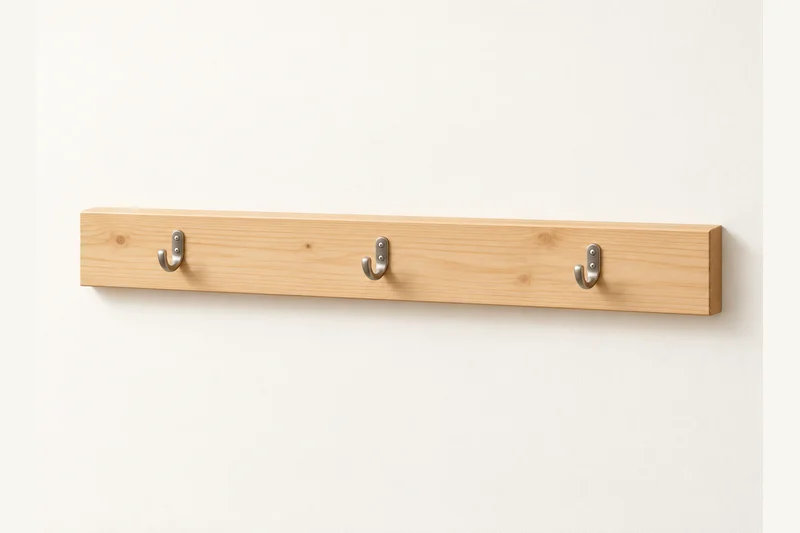
The Welcome In Coat Rail
A simple wooden rail with three tidy hooks for light coats and everyday essentials. One board keeps the build small and useful.
30 in W × 3-1/2 in H rail; hook projection varies
Printable drawings, a labelled cut list and nine assembly stages. No account or email required.
Common materials. Clear details.
One common 1x4 board and three compatible surface-mount hooks.
Use straight, dry stock and check its actual thickness. The PDF lists quantities, hardware sizes, part labels and the cutting layout.
Shopping list
- 1x4 x 4 ft: 1 straight board, actual 3/4 x 3-1/2 in.
- Hooks: 3 surface-mount two-hole coat hooks; bases must fit the rail and accept suitable short screws.
- Hook screws: 6 matching-head screws, typically #6 x 5/8 in; check plate thickness and contained tips.
- Wall screws: 2 washer-head cabinet screws, typically #10 x 3 in for 1/2 in drywall over wood studs; match actual wall.
- Supplies: Sandpaper, finish and optional thin wall-protection pads.
Before the first cut
Tape, square, pencil, supported saw, drill/driver, clamps and sanding tools. Use eye, hearing and dust protection. Clamp small parts and keep hands clear of cutting and screw paths. Stud finder, level, stopped pilot bits and hardware-specific clearance bits.
Digitally checked; not physically built or load-tested. Follow the PDF’s fixing, stability and inspection instructions.
Your parts at a glance
Dimensions in inches. Stock names are nominal; finished dimensions are actual.
| ID | Part | Qty | Stock | Length | Width | Thickness |
|---|---|---|---|---|---|---|
| R | Wall rail | 1 | 1x4 | 30 | 3-1/2 | 3/4 |
| H | Purchased hooks | 3 | hardware | See maker | See maker | See maker |
A clear way through
Keep the PDF beside you for the dimensioned drawings and drilling layouts.
01 Cut wall rail (R)
Choose flat, sound stock without splits near screw positions. Square-cut R to 30 in and mark front, back, top and left end. Check it sits flat against the wall.
02 Choose and lay out hooks (H)
Confirm bases fit R and accept approved short screws. Mark centres at 5, 15 and 25 in. Use actual hooks as the drilling templates; mounting-hole spacing is hardware-specific.
03 Locate wall stud fixings in R
Find two sound wood studs, normally 16 or 24 in apart. Centre R over them, keeping holes at least 1-1/2 in from ends. Use a row about 1 in below R top; shift hooks if holes conflict.
04 Drill wall clearances and hook pilots
Drill clearance holes for wall screws and maker-specified hook pilots. Use a depth stop for shallow hook holes; do not drill through R. Keep sound material between the two fixing systems.
05 Sand and finish rail (R)
Ease exposed edges while leaving joining faces square. Sand 120 then 180 grit as appropriate, remove dust and test finish on an offcut. Follow finish ventilation and full cure directions. Keep the wall face flat and allow full cure before fastening the metal hooks.
06 Fasten hooks (H) to rail (R)
Seat hooks and drive matching short screws gently. Typical 5/8 in screws leave a margin in 3/4 in wood, but plate thickness and head styles vary. Inspect R back for projecting tips.
07 Prepare wall pilots and long screws
With 3/4 in R over 1/2 in drywall, a 3 in screw gives about 1-3/4 in stud penetration before hardware allowances. Verify actual layers, safe drilling and fixing-maker guidance. Other walls need their own specified fixings.
08 Mount rail (R) level into both studs
Hold level with help and drive both washer-head screws through R into the studs. Seat firmly without crushing the wood. Keep screw heads accessible; do not conceal them under permanent filler.
09 Inspect hooks and wall connections
Check hooks cannot rotate and the rail is firm. Start with light items. Unload immediately if wood splits, hooks loosen or the wall fixing moves; correct the connection before reuse.
A little help along the way
You may sell your finished makes. Please keep the plan files and images with GrainBench. Plan usage terms → · Questions or corrections?
Another simple thing to make
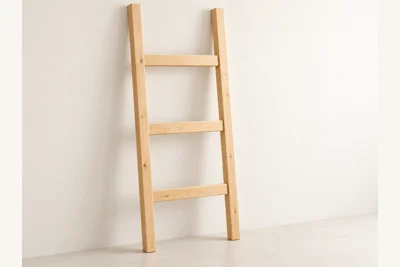
The Soft Landing Blanket Ladder
GrainBench Originals
A slim decorative rack with three flat rungs for folded throws.
29 in W · 60 in stiles · approximately 59 in installed H
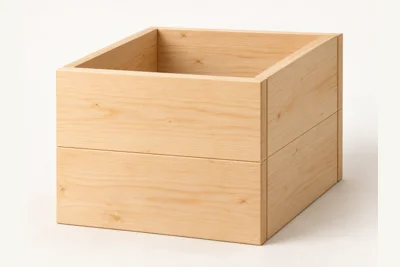
The Simple Square Planter Cover
GrainBench Originals
An open-bottom wooden sleeve that dresses up a separate plant pot and saucer.
12-1/2 in W × 12-1/2 in D × 11 in H