GRAINBENCH ORIGINALS
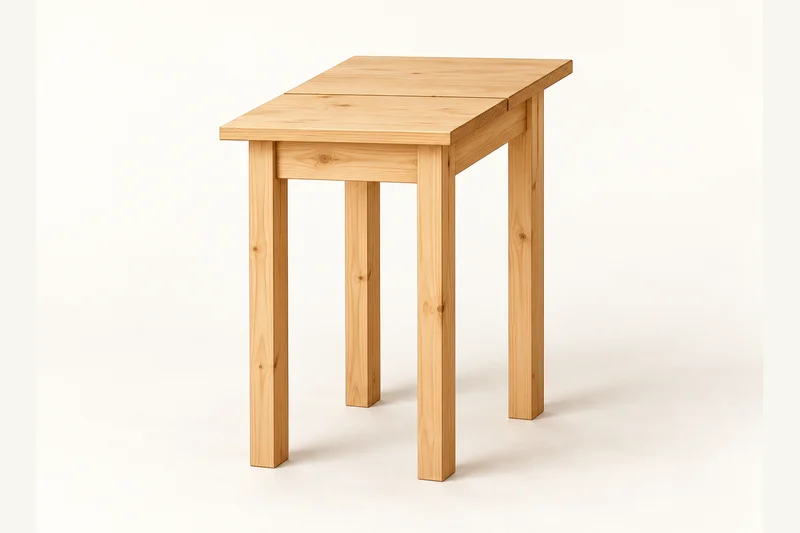
The Sunny Corner Plant Pedestal
A slim-legged pedestal for a light plant and watertight saucer, with a two-board top and softly eased edges.
14 in W × 14-1/2 in D × 22 in H
Printable drawings, a labelled cut list and nine assembly stages. No account or email required.
Common materials. Clear details.
A two-board 1x8 top, 1x3 aprons and 2x2 legs.
Use straight, dry stock and check its actual thickness. The PDF lists quantities, hardware sizes, part labels and the cutting layout.
Shopping list
- 1x8 x 4 ft: 1 board for T; edge-glue to make 14 x 14-1/2 in top.
- 2x2 x 8 ft: 1 board for four L.
- 1x3 x 4 ft: 1 board for four A.
- Base screws: 16 x 1-1/4 in pocket screws.
- Top hardware: 4 figure-eight fasteners such as Rockler 21650 and eight matching #6 x 5/8 in flathead screws.
- Supplies: Glue, finish, non-slip feet and a separate watertight plant saucer.
Before the first cut
Tape, square, pencil, supported saw, drill/driver, clamps and sanding tools. Use eye, hearing and dust protection. Clamp small parts and keep hands clear of cutting and screw paths. Pocket-hole jig, Forstner bit, depth stop and pilot bits matched to top hardware.
Digitally checked; not physically built or load-tested. Follow the PDF’s fixing, stability and inspection instructions.
Your parts at a glance
Dimensions in inches. Stock names are nominal; finished dimensions are actual.
| ID | Part | Qty | Stock | Length | Width | Thickness |
|---|---|---|---|---|---|---|
| T | Top boards | 2 | 1x8 | 14 | 7-1/4 | 3/4 |
| L | Legs | 4 | 2x2 | 21-1/4 | 1-1/2 | 1-1/2 |
| A | Aprons | 4 | 1x3 | 9 | 2-1/2 | 3/4 |
A clear way through
Keep the PDF beside you for the dimensioned drawings and drilling layouts.
01 Cut top boards (T), legs (L) and aprons (A)
Keep four L equal and mark matching upper ends. Select straight T edges that meet without forcing. No breadboard ends or lower shelf are included.
02 Glue the two-board top (T)
Glue the long 14 in mating edges to make a 14 x 14-1/2 in panel. Clamp flat with moderate pressure and allow full cure. Top grain runs left to right.
03 Dry-fit L and A base
A fits between 1-1/2 in legs, giving a 12 in square footprint. Mark 1/4 in apron recesses and flush upper edges. Check matching diagonals before drilling.
04 Drill apron (A) end pockets
For measured 3/4 in stock use 1-1/4 in pocket screws with jig-approved heads, coarse thread for softwood or the maker's choice for your material. Set jig and collar to actual thickness, test matching scrap and use low clutch torque. Put two pockets per A end on its inside face, 5/8 and 1-7/8 in above the bottom. Sixteen screws total. Use equal spacer blocks to maintain apron recesses.
05 Assemble two A/L end frames
Glue apron ends lightly, clamp between L at the marks and drive four screws per frame. Keep upper edges flush and both feet on a common reference surface.
06 Join frames with remaining aprons (A)
Fit the other A pieces with eight screws. Clamp square without twisting legs. Confirm the 12 in footprint and all feet on the bench before the glue cures.
07 Prepare figure-eight fasteners on A
Fit two to each apron running front-to-back, about 2 in from its ends. Recess apron-side discs flush using actual hardware. Follow maker bit/depth/pilot instructions and leave free pivot space.
08 Finish and attach top (T)
Ease exposed edges while leaving joining faces square. Sand 120 then 180 grit as appropriate, remove dust and test finish on an offcut. Follow finish ventilation and full cure directions. Centre T and fasten the four free discs to its underside with matching #6 x 5/8 in screws. Check contained tips in actual 3/4 in stock. Fit non-slip feet evenly.
09 Inspect and place the pedestal
Check joints, level feet and top fixings. Use a light, stable pot and watertight saucer fully on T. Keep away from traffic and places where children or pets could pull it over.
A little help along the way
You may sell your finished makes. Please keep the plan files and images with GrainBench. Plan usage terms → · Questions or corrections?
Another simple thing to make
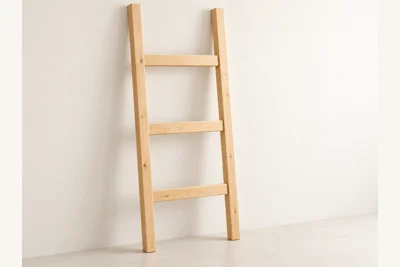
The Soft Landing Blanket Ladder
GrainBench Originals
A slim decorative rack with three flat rungs for folded throws.
29 in W · 60 in stiles · approximately 59 in installed H
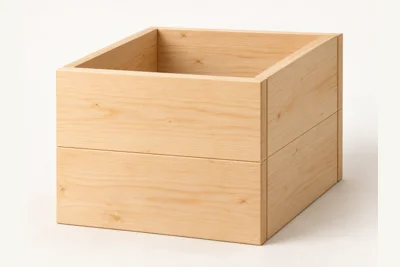
The Simple Square Planter Cover
GrainBench Originals
An open-bottom wooden sleeve that dresses up a separate plant pot and saucer.
12-1/2 in W × 12-1/2 in D × 11 in H