GRAINBENCH ORIGINALS
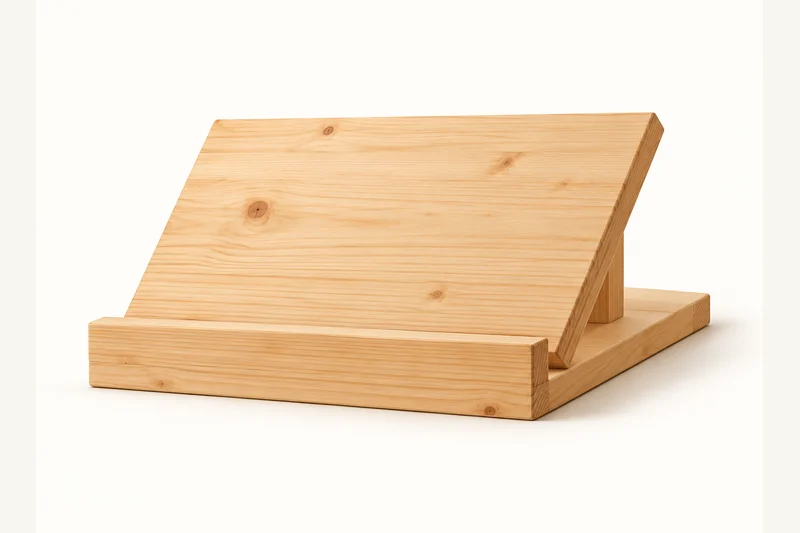
The Slow Morning Book Rest
A fixed-angle rest for a recipe book or notebook, with a low front lip and two simple sloping supports.
14 in W × 9-1/4 in D × approx. 6-7/16 in H
Printable drawings, a labelled cut list and nine assembly stages. No account or email required.
Common materials. Clear details.
A 1x10 base, 1x8 rest panel, 1x6 supports and a 1x2 lip.
Use straight, dry stock and check its actual thickness. The PDF lists quantities, hardware sizes, part labels and the cutting layout.
Shopping list
- 1x10 x 2 ft: 1 board/offcut for A.
- 1x8 x 2 ft: 1 board/offcut for B.
- 1x6 x 2 ft: 1 board/offcut for both S.
- 1x2 x 2 ft: 1 board/offcut for L.
- Hardware: 15 x #6 x 1-1/4 in flathead screws: six base-to-support, six panel-to-support, three lip.
- Supplies: Glue, sandpaper, finish and thin non-slip pads.
Before the first cut
Tape, square, pencil, supported saw, drill/driver, clamps and sanding tools. Use eye, hearing and dust protection. Clamp small parts and keep hands clear of cutting and screw paths. Supported jigsaw or guided saw, countersink, square and stopped pilot bits.
Digitally checked; not physically built or load-tested. Follow the PDF’s fixing, stability and inspection instructions.
Your parts at a glance
Dimensions in inches. Stock names are nominal; finished dimensions are actual.
| ID | Part | Qty | Stock | Length | Width | Thickness |
|---|---|---|---|---|---|---|
| A | Base | 1 | 1x10 | 14 | 9-1/4 | 3/4 |
| B | Sloping rest panel | 1 | 1x8 | 14 | 7-1/4 | 3/4 |
| S | Support blanks | 2 | 1x6 | 5-1/2 | 5-1/2 | 3/4 |
| L | Front lip | 1 | 1x2 | 14 | 1-1/2 | 3/4 |
A clear way through
Keep the PDF beside you for the dimensioned drawings and drilling layouts.
01 Cut A, B, L and support (S) blanks
Keep all rectangular cuts square. Mark the S bottom, front toe and rear edge. A and B share a 14 in left-to-right length but have different board widths/depths.
02 Shape matching supports (S)
Draw from S front-bottom corner to rear-top corner at 45 degrees. Retain the triangle BELOW that diagonal. Trim the upper point horizontally at 5-1/8 in above bottom. Support and clamp for both profile cuts.
03 Dry-fit S, sloping B and lip (L)
S outside faces sit 1-1/2 in from A ends; toes sit 1-1/2 in behind its front. B lower rear edge begins at the toes and rests on both slopes. L stands at A front. Confirm all contact edges without forcing overlaps.
04 Drill base (A) for S and L
S centre rows: 1-7/8 and 12-1/8 in from left. Along each row mark 2-1/2, 4-1/4 and 6 in from A front. L holes: 2, 7 and 12 in from left, 3/8 in behind front. Countersink underside; pilot receiving edges.
05 Fix supports (S) to base (A)
Glue lower S edges lightly, clamp to marks and drive six #6 x 1-1/4 in screws upward through A. Align toes and keep the thin front tips intact; do not place screws in the tips.
06 Drill and attach sloping rest (B)
Use the same left/right rows on B, with holes 1-1/4, 3-5/8 and 6 in along its slope from the bottom. Glue support slopes, clamp B and pilot perpendicular to its face into S. Drive six screws and inspect contained tips.
07 Fit front lip (L)
Stand L at A front, with front faces flush and its lower edge on A. Glue lightly and drive the last three screws upward from A. A small gap remains between L and B; the parts must not overlap.
08 Finish A, B, S and L
Ease exposed edges while leaving joining faces square. Sand 120 then 180 grit as appropriate, remove dust and test finish on an offcut. Follow finish ventilation and full cure directions. Smooth lip and rest edges to protect book covers. Fit thin non-slip pads under A after the finish fully cures.
09 Inspect and try a modest book
Check the flat base, firm supports and full contact on both slopes. Keep the book centred with its lower edge against L. Separate gentle page clips may be needed; no page-holding mechanism is included.
A little help along the way
You may sell your finished makes. Please keep the plan files and images with GrainBench. Plan usage terms → · Questions or corrections?
Another simple thing to make
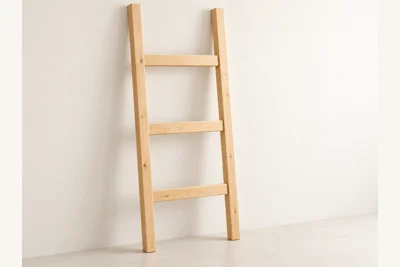
The Soft Landing Blanket Ladder
GrainBench Originals
A slim decorative rack with three flat rungs for folded throws.
29 in W · 60 in stiles · approximately 59 in installed H
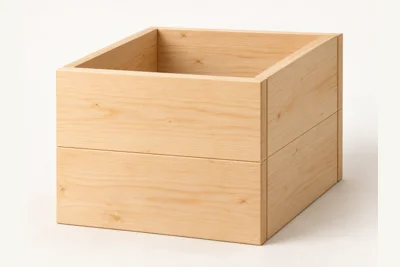
The Simple Square Planter Cover
GrainBench Originals
An open-bottom wooden sleeve that dresses up a separate plant pot and saucer.
12-1/2 in W × 12-1/2 in D × 11 in H