PRACTICAL PLANNING GUIDE
How to make a cut list for woodworking (and turn it into a plywood cutting diagram)
By GrainBench · Updated October 26, 2026
A cut list is every finished part you need, written down once, with its size, quantity and material. Turn it into a cutting diagram and you can see how many boards or sheets to buy before you load the car.
Jump to a section
What goes in a cut list
Give each part one line. A cut list is not the same as a shopping list: the cut list describes the finished pieces, while the shopping list describes the boards and sheets you buy to get them.
- A label, such as A for the sides. Pencil the same letter on the hidden face of each piece as you cut it.
- Quantity. Two sides are one line with a quantity of 2, not two lines.
- Finished size as length × width × thickness. Length runs with the grain.
- Material, including thickness. A 3/4 in board and a 1/4 in back panel never share a board or sheet.
- Notes, such as “cut after assembly” or “grain must run lengthwise.”
If you are working from a plan, the parts list is your starting cut list. Our guide to reading a woodworking plan explains where those sizes come from.
Measure the wood you will actually use
Nominal names are not sizes. Under the American Softwood Lumber Standard, the minimum dressed dry size of a nominal 1x12 is 3/4 × 11-1/4 in and a 1x3 is 3/4 × 2-1/2 in. Boards at your store may differ slightly, so measure the ones you bring home. Sheet goods have the same problem: see actual plywood thickness before you mix a measured 23/32 in sheet into a 3/4 in plan.
Then allow for the saw. Every cut turns a strip of wood into sawdust, called the kerf. Our Cut-List Optimizer starts at 1/8 in and leaves the kerf as a real gap between parts. Change it if your blade cuts wider or narrower.
Worked example: the Everyday Bookshelf
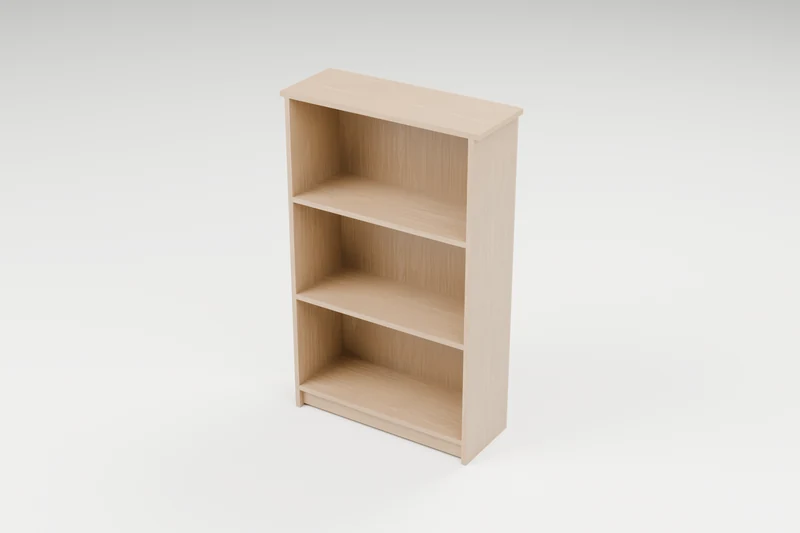
Our free Everyday Bookshelf is 30 in wide, 11-1/2 in deep and 48 in tall, built from 1x12 boards with pocket screws. This is the cut list from its plan:
| Label | Part | Qty | Finished size (L × W × T) | Material |
|---|---|---|---|---|
| A | Sides | 2 | 47-1/4 × 11-1/4 × 3/4 in | 1x12 |
| B | Bottom and shelves | 3 | 27 × 11-1/4 × 3/4 in | 1x12 |
| T | Top | 1 | 30 × 11-1/4 × 3/4 in | 1x12 |
| D | Base rail | 1 | 27 × 2-1/2 × 3/4 in | 1x3 |
| C | Back | 1 | 48 × 28-1/2 × 1/4 in | 1/4 in plywood |
Two notes from the plan change how you use this list. The 1x12 parts use the full board width, so there is nothing to rip. The back (C) is cut after assembly, to the size you measure on the finished case, so treat its size as a buying guide rather than a cutting size.
Turn the cut list into a cutting diagram
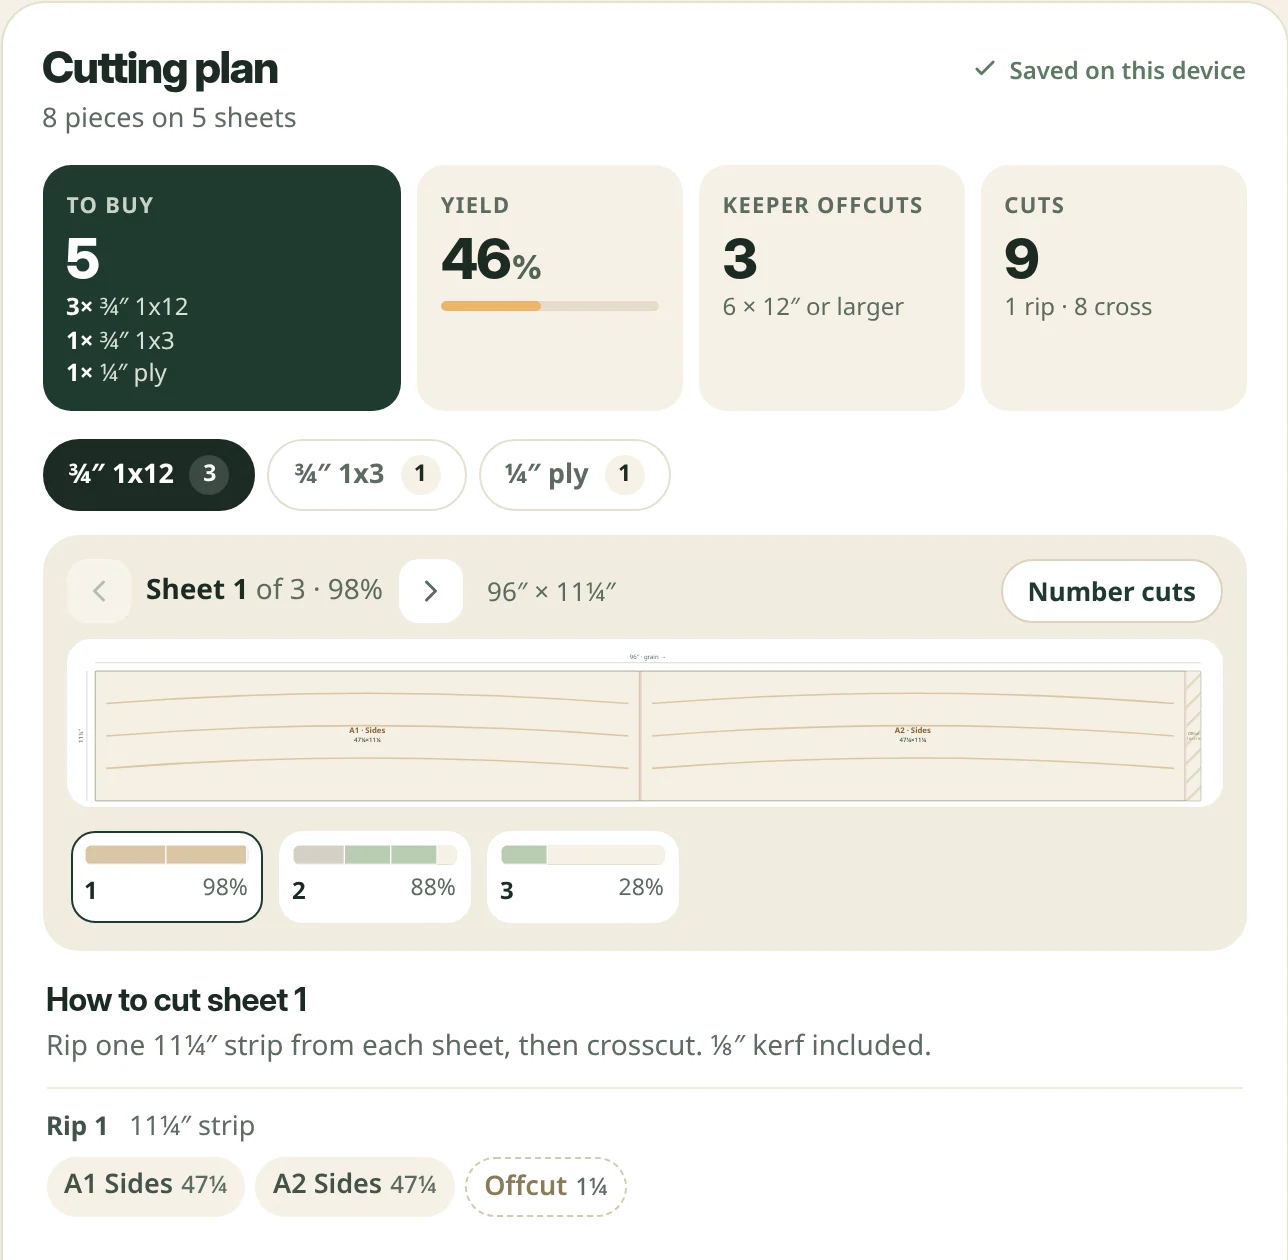
A cutting diagram places every part on a specific board or sheet, with the kerf between them. You can sketch it on paper, longest parts first. Or open the Everyday Bookshelf in the Cut-List Optimizer, which loads the plan’s parts and gives each solid board its own stock row. We ran it on October 25, 2026 with the default 1/8 in kerf and 8 ft boards:
| Stock | Parts placed | Left over |
|---|---|---|
| 1x12 board 1 (96 in) | A, A | 1-1/4 in |
| 1x12 board 2 (96 in) | T, B, B | 11-5/8 in |
| 1x12 board 3 (96 in) | B | 68-7/8 in |
| 1x3 (96 in) | D | 68-7/8 in |
| 1/4 in plywood (96 × 48 in) | C | 47-7/8 × 28-1/2 in and 96 × 19-3/8 in |
The optimizer reported 46% overall yield: the area of the placed parts divided by the area of the stock opened for them. Yield is low here because the default stock is bigger than this small bookcase needs. The diagram tells you what to change:
- Board 1 is nearly full. Two 47-1/4 in sides plus kerfs leave only 1-1/4 in, so there is little room to square a rough end. Check the board ends before you buy, which is why the plan says to square one end first and cut both sides from one board.
- Board 3 holds one shelf. A 27 in shelf plus a kerf fits in a 4 ft board, which is what the plan’s shopping list calls for.
- The base rail and back fit smaller stock. When we set the 1x3 to 48 in and the plywood to a 48 × 48 in panel, matching the plan’s shopping list, both parts still fit and overall yield rose to 66%.
That matches the plan’s shopping list: two 8 ft 1x12s, one 4 ft 1x12, one 4 ft 1x3 and one 4 × 4 ft panel of 1/4 in plywood. The diagram is what tells you that list is enough.
For a bigger plywood project, such as a cabinet with several 3/4 in panels, the same steps make a full plywood cutting diagram. The optimizer rips strips, crosscuts parts from them, and never turns a part whose grain is locked. If you design your own piece in Plan Studio, the parts saved on this device appear in the optimizer, so you don’t have to type them in again.
Check before you cut
- Measure your actual boards and sheets, then update the thickness and width in your list.
- Set the kerf to match your blade.
- Mark grain direction on every visible part.
- Leave parts that depend on assembly, like the bookcase back, until the case is together.
- Print the PDF and cut to the dimensions, not the drawing. The layout is a planning aid, not full size.
- Label each piece as it comes off the saw, and keep useful offcuts for small projects such as Christmas scroll saw patterns.
Sources and scope
- GrainBench: Everyday Bookshelf plan, checked October 25, 2026. The parts, sizes, preparation notes and shopping list above come from this plan and its PDF.
- NIST: Voluntary Product Standard PS 20-25, American Softwood Lumber Standard, for minimum dressed sizes of nominal 1x12 and 1x3 boards.
- GrainBench Cut-List Optimizer. The layouts, offcuts and yield percentages above are its output on October 25, 2026 with the settings stated. Changing the kerf, edge trim or stock sizes will change them.
Scope: this guide covers planning cuts for flat parts from boards and sheet goods. It does not replace your saw’s manual or a plan’s own instructions. See our sources and editorial approach.