TOOL / ASSEMBLE
Clamps & protective cauls
Hold a setup still and close a properly fitted glue joint.
By GrainBench · Reviewed October 22, 2026
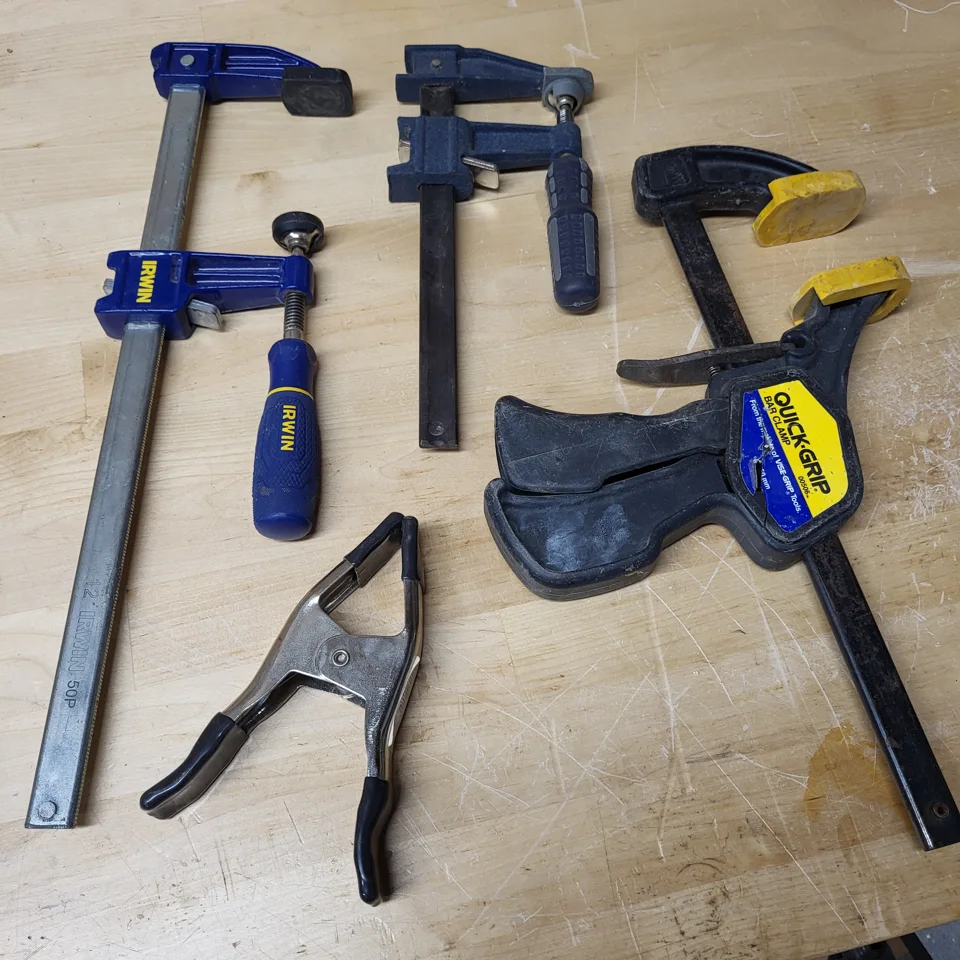
“Woodworking clamps” by Michaelkurek011 / Wikimedia Commons · CC BY-SA 4.0. Resized, orientation corrected and converted to WebP; the photo retains its stated license. Identification example, not a product endorsement.

Jump to a section
When it earns a place in your kit
For dry fitting, jig holding and glue-up. Different jobs need different opening capacity, throat depth and pad access.
What to check before choosing
- Measure the complete clamping span, including protective pads or cauls.
- Check that the jaws reach the intended pressure line without obstructing drilling or routing.
A practical setup sequence
Rehearse the assembly without glue. Open each clamp to size and arrange pads, supports and a square.
Apply pressure in a balanced sequence, keeping the parts on a flat reference. Check the case diagonals and the joint fit as you tighten.
Follow the adhesive’s clamp time. Remove squeeze-out using a method compatible with the surface and planned finish.
A common mistake to avoid
Extra force cannot repair a miscut joint and may bow panels or mark the faces.
Use it with
Sources and scope
References checked October 22, 2026. Named-product instructions illustrate the category and do not establish compatibility with every tool. Use the exact model’s instructions for capacity, settings, guarding and protection. No independent product testing or load rating is claimed.
Browse the equipment library → · Read project planning guides →