THE PROJECT EQUIPMENT LIBRARY
Tools & accessories
Find what your project needs—and learn how to use it.
Measure, cut, join, assemble or finish.
Sizes, references and compatibility.
Verify the setup on matching scrap.
What are you working on?
A menu of useful equipment, not a shopping requirement. Your chosen joint and any supplier cutting service change what you need.
No matches. Try a broader term, another job, or reset the filters.
Tape measure & layout pencilTape measure & layout pencil
Measure the available space and mark clear, labeled part dimensions.
Start hereUses & setup : Tape measure & layout pencilCombination squareCombination square
Mark square lines and repeat an edge offset before cutting or drilling.
Start hereUses & setup : Combination squareDigital caliperDigital caliper
Measure actual panel thickness and check the diameter of hardware.
Useful upgradeUses & setup : Digital caliper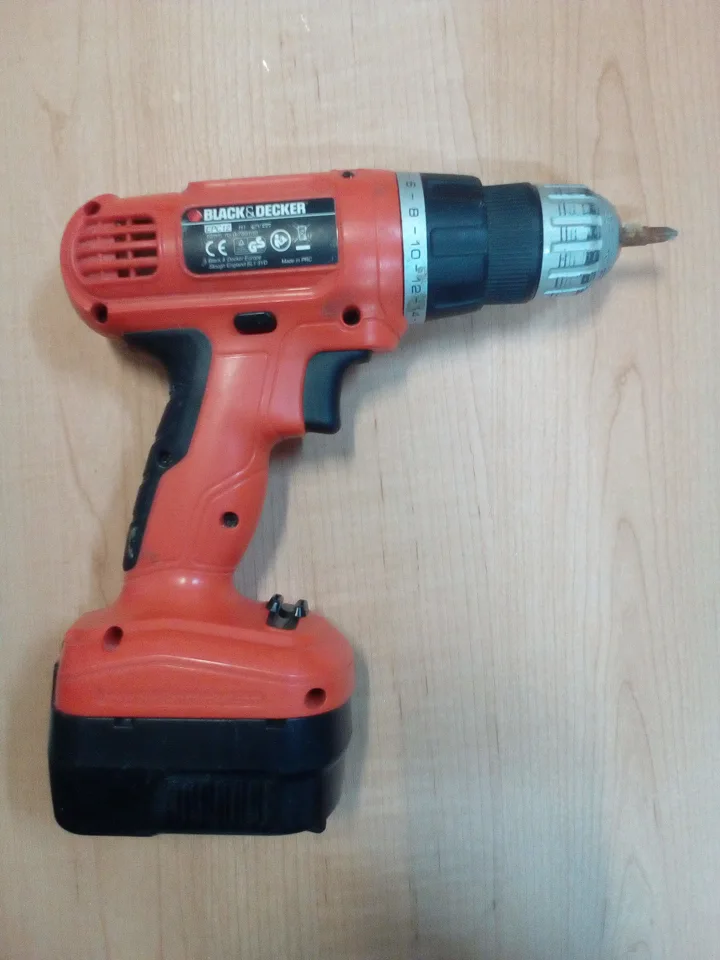
Drill/driverDrill/driver
Drill controlled holes and drive compatible furniture fasteners.
Start hereUses & setup : Drill/driverDrill bits & depth stopsBits & depth stops
Match the hole diameter and keep blind holes inside the panel.
Match your hardwareUses & setup : Drill bits & depth stopsFurniture dowel-pin jigDowel-pin jig
Align matching holes in panel faces and the ends of mating parts.
For connector-pin jointsUses & setup : Furniture dowel-pin jigFurniture connector pinsConnector pins
Short wooden pins locate and join mating furniture panels.
For connector-pin jointsUses & setup : Furniture connector pinsShelf-pin drilling jigShelf-pin jig
Make matching support holes on the inside faces of a case.
For removable shelvesUses & setup : Shelf-pin drilling jigRemovable shelf supportsShelf supports
Support a lift-out shelf on small pins or shaped bearing platforms.
For removable shelvesUses & setup : Removable shelf supportsRouter & dado guideRouter & dado guide
Cut the shallow channels that receive recessed shelf ends.
For recessed shelvesUses & setup : Router & dado guide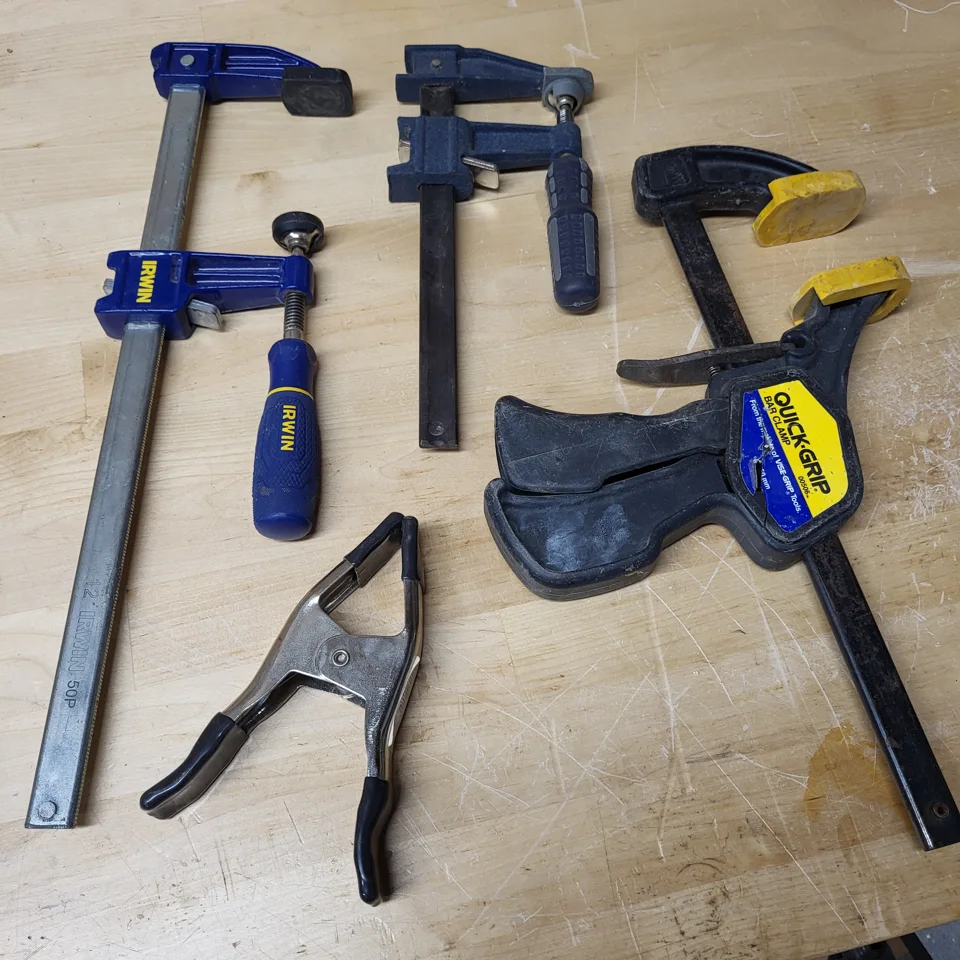
Clamps & protective caulsClamps & cauls
Hold a setup still and close a properly fitted glue joint.
Start hereUses & setup : Clamps & protective caulsWood glueWood glue
Bond close-fitting wood joints with an adhesive suited to the exposure.
For glued jointsUses & setup : Wood glueCircular saw & cutting guideSaw & cutting guide
Break panels into parts with supported, guided straight cuts.
If cutting your own panelsUses & setup : Circular saw & cutting guideRandom-orbit sanderRandom-orbit sander
Prepare broad flat surfaces with compatible abrasive discs.
Useful upgradeUses & setup : Random-orbit sanderSandpaper & sanding blocksSandpaper & blocks
Remove tool marks and prepare edges without losing their shape.
Start hereUses & setup : Sandpaper & sanding blocksIron-on edge bandingEdge banding
Cover exposed plywood edges with an adhesive-backed strip.
For exposed panel edgesUses & setup : Iron-on edge bandingDust extraction & protectionDust & protection
Plan source capture, cleanup and protection alongside the cutting setup.
Plan before machiningUses & setup : Dust extraction & protectionWood screws & pilot holesWood screws & pilot holes
Choose a fastener and hole preparation for the actual joint and material.
Where the design specifies screwsUses & setup : Wood screws & pilot holesSources, photos & scope
Original GrainBench setup guidance, checked against linked manufacturer instructions and technical references. Read the exact tool manual before operating it. Entries are tool categories, not tested product rankings or a complete workshop safety course.
Photos by Fructibus (CC0) and Michaelkurek011 (CC BY-SA 4.0), via Wikimedia Commons. Full credits and license links appear with the drill and clamp guides. Other images are original GrainBench line drawings.
Photo credits and reuse licenses → · Our editorial approach →