GRAINBENCH ORIGINALS · FREE SCROLL SAW & LASER PATTERN
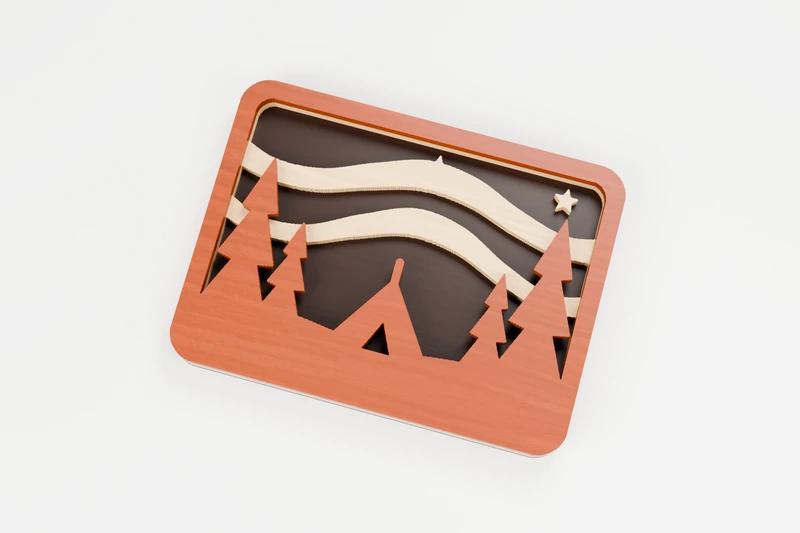
Northern lights layered plaque
Camping under the northern lights, in three woods.
A three-layer rectangular plaque: a dark night backdrop, a light middle layer with ribbons of the aurora and a few stars, and a top layer with snowy ground, pines and a glowing tent, its door cut through. Cut each layer from a different wood and glue them in a stack. An intermediate cut in 3 layers, using three 1/4 in (6 mm) blanks in contrasting woods, such as walnut, maple and cherry. A flat decorative plaque for a gift or display. No stand, mounting system or hardware is included.
Choose your download
Free files, no account needed. Print a PDF for the scroll saw, or grab the laser files below.
Each PDF page is one layer, labelled with its number and wood.
For laser cutters
Smooth red cut lines at actual size (mm), no border box. Works in LightBurn, xTool Creative Space and Glowforge. Cut inside openings first.
Laser settings & tipsThe 3 layers
Cut each layer from its own wood, then glue them in a stack, back to front. Every layer prints at the same size and position, so the sheets line up.

Layer 1 · back
Backdrop
Walnut or another dark wood · one piece · outside cuts only

Layer 2
Aurora
Maple or another contrasting wood · 2 pieces · 3 inside cuts

Layer 3 · top
Tent and pines
Cherry or another contrasting wood · one piece · 2 inside cuts
Before your first cut
Print every page at actual size: each page is one layer, and all of them line up. Cut each layer from its own wood, drilling a blade-entry hole inside each grey opening and cutting those first. Dry-fit the stack before gluing, then glue from the back up, a thin coat of wood glue on each layer, and clamp or weight it flat while it dries.
- Stock
- Flat, sound 6 mm plywood is suggested practice stock. Check your actual wood, blade and narrow points before cutting.
- Cut order
- Cut each layer on its own: enclosed openings first, then the outside. Sand the faces flat before gluing.
- Glue-up
- Dry-fit the stack first. Glue from the back up with a thin coat of wood glue, keeping squeeze-out away from the openings, and clamp or weight it flat until dry.
- Print scale
- Actual size / 100%. Turn off Fit to page and measure the 50 mm check line.
- Finished piece
- A layered decorative plaque, not a toy design. No stand, mounting system or hardware is included.
Digital geometry checked; not physically cut-tested. Digitally connected wood is not a strength guarantee; inspect the shape at your chosen size.
Usage terms & how this pattern was made
You may make physical items for yourself, gifts or commercial sale. You may not sell or redistribute the pattern files, printed pattern sheets or modified digital versions. Read the full pattern usage terms.
Created for GrainBench with AI-assisted artwork, processed through our Pattern Maker engine and checked for disconnected wood. Wood images are concept illustrations, not photographs of physically cut projects.
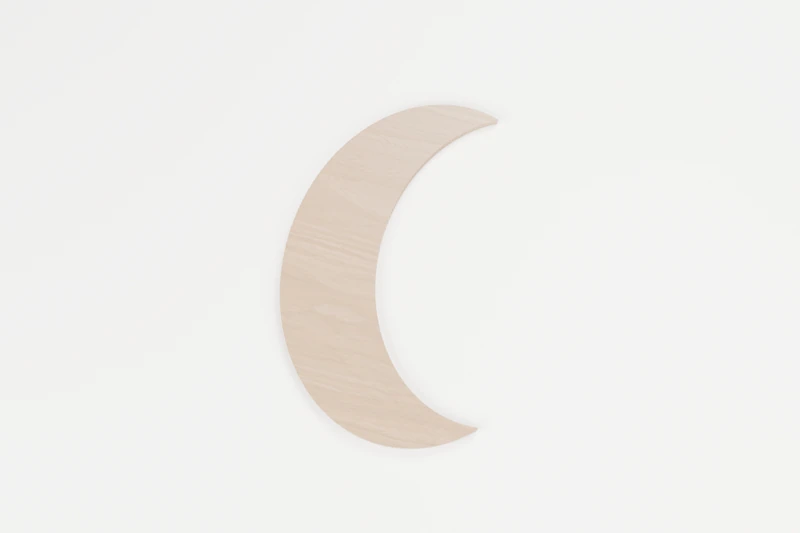 Quiet crescent moon ↗︎
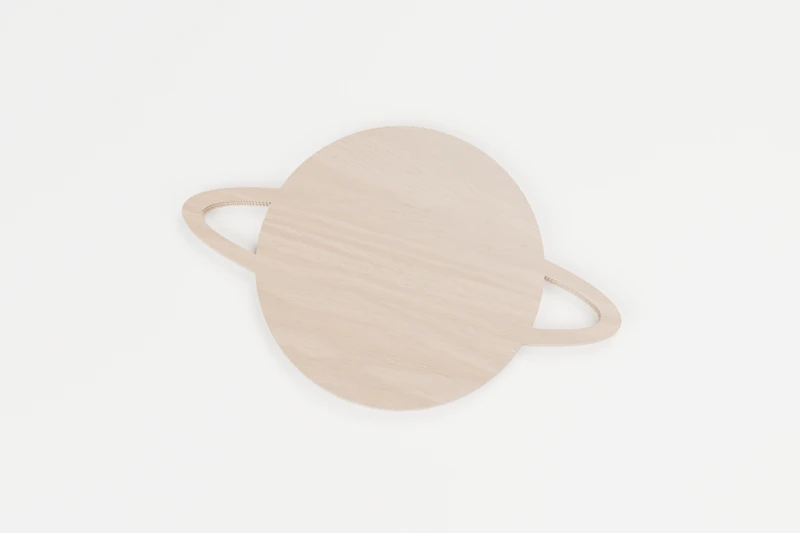 Little ringed world ↗︎
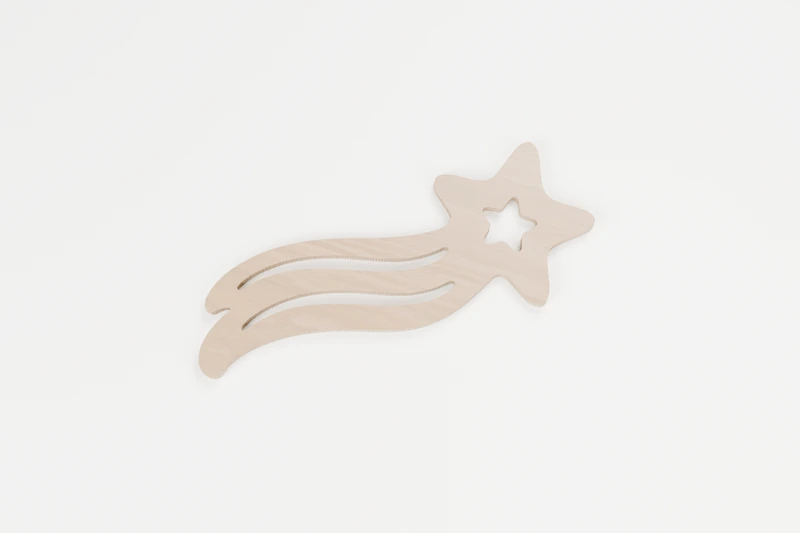 Wish on a shooting star ↗︎


