GRAINBENCH ORIGINALS
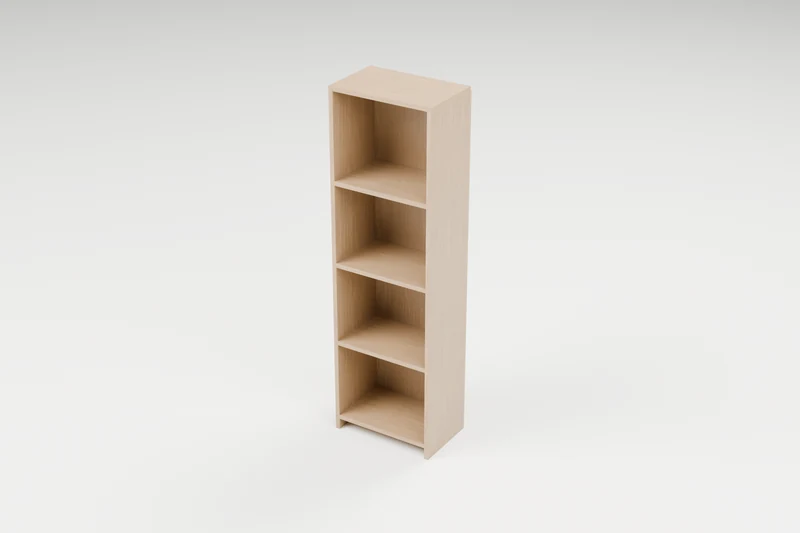
The Slim Utility Shelf
A tall, narrow shelf for a laundry room, pantry or bathroom corner, with four fixed shelves and a plywood back. It is anchored to the wall.
18 in W × 11-1/2 in D × 60 in H
Printable drawings, a labelled cut list and step-by-step assembly instructions. No account or email required.
Common materials. Clear details.
1x12 board and 1/4 in plywood.
Use straight, dry stock and check its actual thickness. The PDF lists quantities, hardware sizes, part labels and the cutting layout.
Shopping list
- 2 x 1x12 board, 8 ft: For H shelves, S sides, T top
- 1 x 1x12 board, 4 ft (or an offcut at least 17-1/2 in long): For H shelves
- 1 x 1/4 plywood, 4 ft x 8 ft sheet (or an offcut at least 18 x 59-1/4 in): For R back
- 1-1/4 in coarse-thread pocket-hole screws: 30, plus a few spares
- 3/4 in brads: About 45, for the back
- Wood glue: Small bottle of interior wood glue
- Sandpaper: 120 and 180 grit
- Finish: About 1 L (1 quart) of paint, stain or clear water-based polyurethane
- Anti-tip strap: 1, with screws suited to your wall
Before the first cut
Saw for straight crosscuts: mitre saw, or circular saw with a speed square; Pocket-hole jig set for 3/4 in stock, with its stepped bit and a #2 square driver bit; Drill/driver; Tape measure, pencil and a combination or speed square; 2 clamps that open to at least 24 in; Hammer and nail set, or a brad nailer; Sander or sanding block; Safety glasses and hearing protection.
Digitally checked; not physically built or load-tested. Follow the PDF’s fixing, stability and inspection instructions.
Prepare before you cut
Stock, fitting and drilling checks
Pick straight 1x12s for the long sides. The back needs a full 4 x 8 sheet of 1/4 in plywood because it is 59-1/4 in tall; most stores will rip it to 18 in wide for you. Cut the two long sides first, one from each 8 ft board, then the top and shelves from what is left.
For ordinary wood screws, make a clearance hole in the first piece and a pilot in the receiver; use the screw maker’s bit sizes. Pocket holes use the jig’s own setup. Trial the actual joint on scrap, including the countersink, then check both faces for tips before fastening the project.
Your parts at a glance
Dimensions in inches. Stock names are nominal; finished dimensions are actual.
8 parts from 1x12 and 1/4 plywood.
| ID | Part | Qty | Stock | Length | Width | Thickness |
|---|---|---|---|---|---|---|
| S | Sides | 2 | 1x12 | 59-1/4 | 11-1/4 | 3/4 |
| T | Top | 1 | 1x12 | 18 | 11-1/4 | 3/4 |
| H | Shelves | 4 | 1x12 | 16-1/2 | 11-1/4 | 3/4 |
| R | Back | 1 | 1/4 plywood | 59-1/4 | 18 | 1/4 |
A clear way through
Keep the PDF beside you for the dimensioned drawings and drilling layouts.
01 Drill the pocket holes
Drill 3 pocket holes at each end of every H on the underside, and 3 at the top end of each S on its inside face.
02 Mark the sides
Lay both S together, inside faces up and bottom ends lined up, and draw lines across both at 2, 16, 30 and 44 in from the bottom.
03 Fit the shelves
Lay one side down, glue and clamp each H on its line, pocket holes down, and drive 3 screws per end. Add the second side the same way and check the diagonals match.
04 Attach the top
Set T on the case flush at the sides and front, and drive the 6 screws from the sides up into it.
05 Back, finish and anchor
Square the case, cut R to fit below the top, and glue and nail it on about every 4 in. Sand, finish, and fasten the anti-tip strap into a wall stud before loading.
A little help along the way
You may sell your finished makes. Please keep the plan files and images with GrainBench. Plan usage terms → · Questions or corrections?
More simple things to make
SHELVES & STORAGE · CONFIDENT BEGINNER
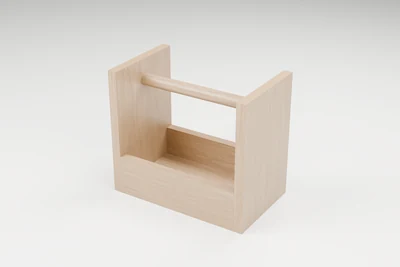
The Picnic Bottle Caddy
An open carrier with a round dowel handle for bottles, condiments or craft supplies.
↔︎ 12 × 7-1/4 × 10-1/2 in✓ Cut list
View plan & downloadQuick PDFDownload
SHELVES & STORAGE · CONFIDENT BEGINNER
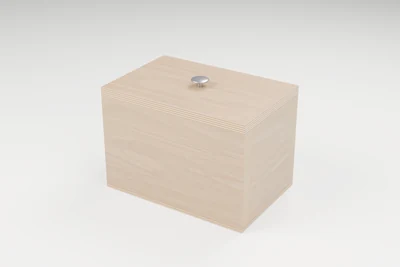
The Kitchen Recipe Box
A small lift-off-lid box for 4 x 6 or 3 x 5 recipe cards. Two cleats under the lid keep it centred, and a plywood bottom is glued on underneath.
↔︎ 9 × 6 × 6-1/4 in✓ Cut list
View plan & downloadQuick PDFDownload
SHELVES & STORAGE · CONFIDENT BEGINNER
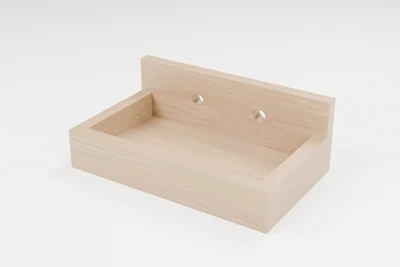
The Evening Charging Valet
A shallow tray for phones, keys and a watch, with a backstop drilled for charging cables. The chargers stay outside the tray.
↔︎ 12 × 7-1/4 × 4-1/4 in✓ Cut list
View plan & downloadQuick PDFDownload