GRAINBENCH ORIGINALS
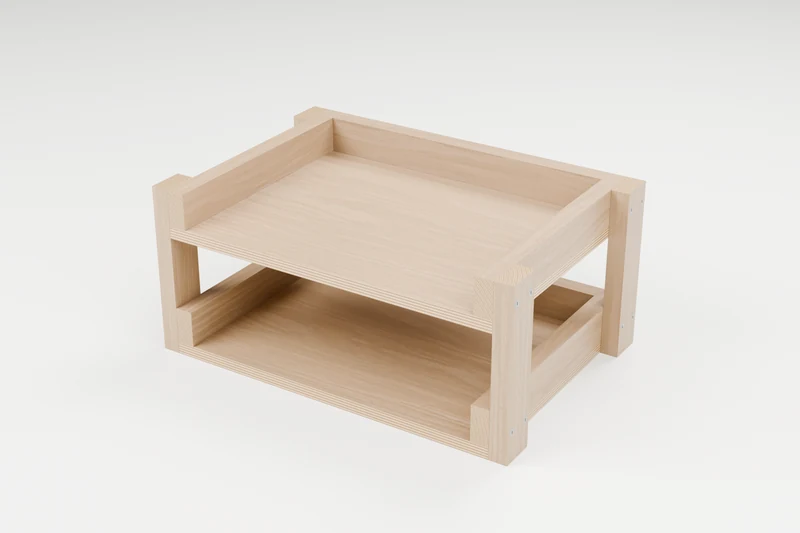
The Two Tier Letter Trays
Two open-front paper trays joined by four slim posts, so mail and letter-size paper sort into two levels.
15-1/2 in W × 10-1/2 in D × 7 in H
Printable drawings, a labelled cut list and step-by-step assembly instructions. No account or email required.
Common materials. Clear details.
1x2 board and 1/2 in plywood.
Use straight, dry stock and check its actual thickness. The PDF lists quantities, hardware sizes, part labels and the cutting layout.
Shopping list
- 1 x 1x2 board, 8 ft: For P posts, R back rails, S side rails
- 1 x 1x2 board, 4 ft (or an offcut at least 8 in long): For P posts
- 1 x 1/2 plywood, 2 ft x 2 ft panel: For B tray floors
- #6 x 1 in flathead wood screws: 22, plus a few spares
- #6 x 1-1/4 in flathead wood screws: 16, plus a few spares
- Wood glue: Small bottle of interior wood glue
- Sandpaper: 120 and 180 grit
- Finish: About 250 mL (half a pint) of paint, stain or clear water-based polyurethane
Before the first cut
Saw for straight crosscuts: mitre saw, or circular saw with a speed square; Drill/driver with a countersink bit; Tape measure, pencil and a combination or speed square; 2 clamps that open to at least 18 in; Sander or sanding block; Safety glasses and hearing protection.
Digitally checked; not physically built or load-tested. Follow the PDF’s fixing, stability and inspection instructions.
Prepare before you cut
Stock, fitting and drilling checks
Choose a flat 1/2 in plywood panel; a 2 x 2 ft piece holds both floors. Pick a straight, knot-free 1x2. Cut the two floors B to 14 x 10-1/2 in and check they match. Cut all the 1x2 parts square.
For ordinary wood screws, make a clearance hole in the first piece and a pilot in the receiver; use the screw maker’s bit sizes. Pocket holes use the jig’s own setup. Trial the actual joint on scrap, including the countersink, then check both faces for tips before fastening the project.
Your parts at a glance
Dimensions in inches. Stock names are nominal; finished dimensions are actual.
12 parts from 1/2 plywood and 1x2.
| ID | Part | Qty | Stock | Length | Width | Thickness |
|---|---|---|---|---|---|---|
| B | Tray floors | 2 | 1/2 plywood | 14 | 10-1/2 | 1/2 |
| S | Side rails | 4 | 1x2 | 10-1/2 | 1-1/2 | 3/4 |
| R | Back rails | 2 | 1x2 | 12-1/2 | 1-1/2 | 3/4 |
| P | Posts | 4 | 1x2 | 7 | 1-1/2 | 3/4 |
A clear way through
Keep the PDF beside you for the dimensioned drawings and drilling layouts.
01 Make the two trays
Glue two S and one R onto each B: the sides flush with the floor edges and the back rail between them. Drill and countersink from underneath and drive 4 screws into each side rail and 3 into the back rail.
02 Add the posts
Mark each P at 0 and 5 in from the bottom. Stand the trays on their sides, hold a post against the side rails at the front corner, and drive 2 screws through the post into each rail. Repeat at the back and on the other side. Check both floors are level.
03 Finish
Sand the front edges of the floors smooth so paper slides easily, and apply your finish.
A little help along the way
You may sell your finished makes. Please keep the plan files and images with GrainBench. Plan usage terms → · Questions or corrections?
More simple things to make
SHELVES & STORAGE · CONFIDENT BEGINNER
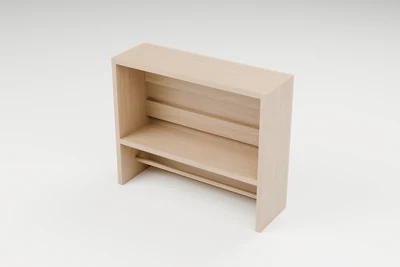
The Fresh Start Bathroom Shelf
A wall shelf with two shelves and a towel bar below, hung on two hidden rails screwed into the wall studs.
↔︎ 24 × 7-3/4 × 20 in✓ Cut list
View plan & downloadQuick PDFDownload
SHELVES & STORAGE · CONFIDENT BEGINNER
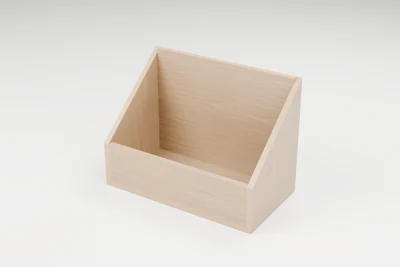
The Reading Corner Book Bin
A low, open floor bin that shows off picture books face-out. Sloping sides make it easy for small hands to reach in.
↔︎ 22 × 12 × 16 in✓ Cut list
View plan & downloadQuick PDFDownload
SHELVES & STORAGE · CONFIDENT BEGINNER
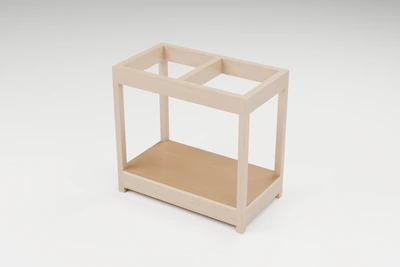
The Daily Sort Recycling Station
A simple two-bin station made with square legs, 2x4 rails and a fitted plywood floor. Buy and measure the bins before cutting.
↔︎ 32 × 18 × 30 in✓ Cut list
View plan & downloadQuick PDFDownload